Landscape Photography
How to Create Landscapes and Spherical Images
Camera
Any camera can make panoramic or spherical images, even an iPhone can get the job done
DSLR cameras are a great choice for making panoramas. DSLR camera have excellent sensors ranging in size from 16 megapixel to 50 megapixel. Larger sensor will render larger, more detailed images. The quality of the lenses that you decide to use will be the single most important purchase decision that you will make.
Lens
Wide angle or normal focal length lenses are generally the best choice for spherical images because you will be able to create a panorama or a spherical image with the fewest number of shots. Try starting out with a 35mm or 50mm lens on a DSLR. These lenses are usually quite sharp as long as you stay around F8. All lenses have a sweet spot, and F8 or F11 is a good place to start
Medium and long telephoto lenses are often used in panoramas, however these lenses will require many more photographs to cover the scene.
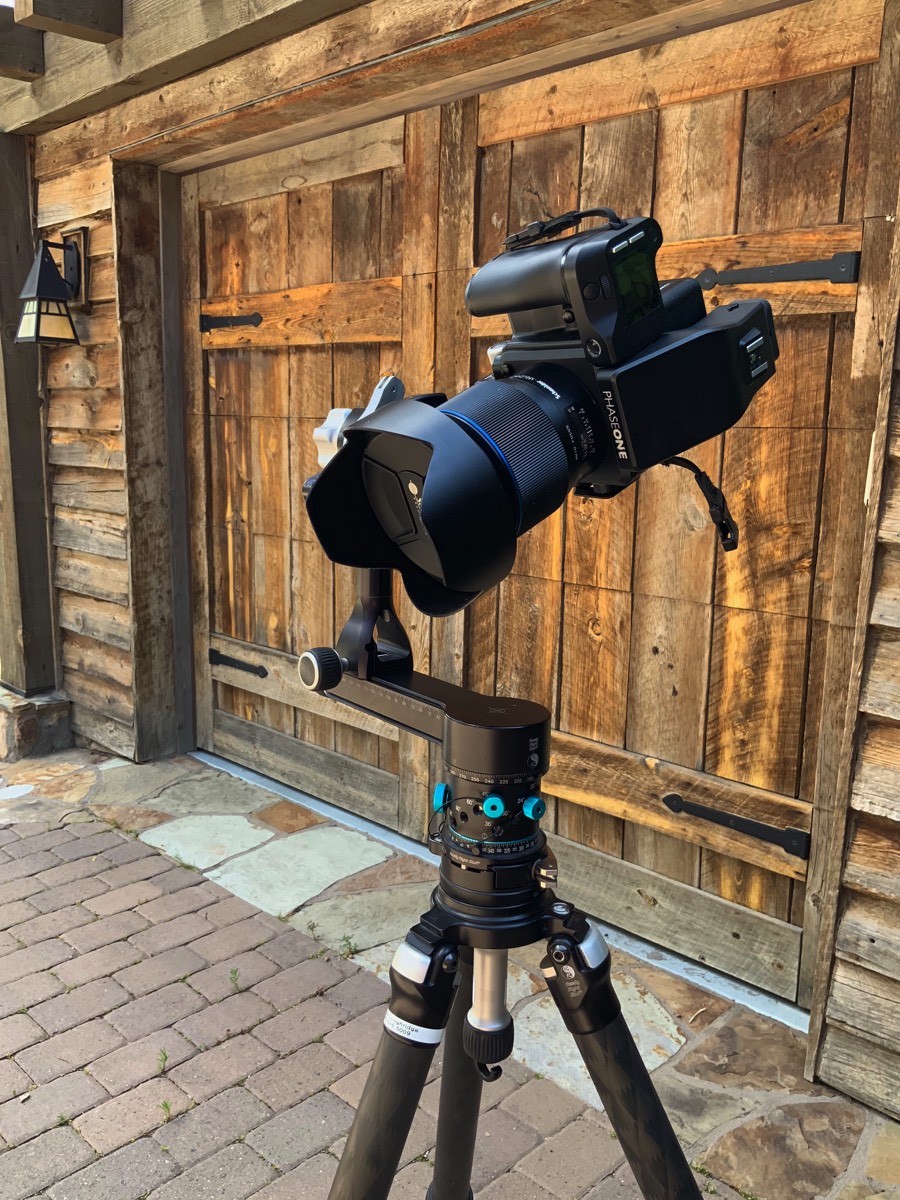
I use a very high resolution camera system, a Phase One XF camera system. The sensor on the camera is a 150 megapixel. The quality of the lenses that I use match the capability of the sensor. That's important because this sensor will show every defect in the lens. Also Important… the camera must be held in a rock solid fashion, because shake causes blur. Camera focus is additionally very important to get just right. Every detail must be perfect in the shots otherwise the results will be simply awful.
Tripod
Using a normal tripod and tripod head simply will not work properly due to how the lens pivots on the top of the tripod.
Every lens has a nodal point. That is a point inside the lens, usually where the aperture is physically located. This is where all of the light travels through the aperture and crosses as a pinpoint within the lens.
The animated image below shows a camera mounted in a tripod head. Notice that the camera rotates horizontally. The camera body has also been slid backwards on a rail to put the lens' nodal point at the center of rotation. Rotating around the nodal point eliminates all parallax issues
Any type of camera and lens can be used. The important part is that the images get captured with all rotations happening around that pinpoint, the nodal point of the lens.
Start with a simple panorama, maybe just three images shot horizontally.
Make sure that the camera is set to manual mode. Set the F stop and aperture to a fixed value, exposing for the highlights. Set focus to manual mode. Set the depth of field of the camera by stopping down then lens. Use a setting that optimizes the focus of nearby and distant objects. Stopping down the lens to f11 or f16 is a good starting point. Do not stop down too far otherwise the image will soften instead of sharpen. Also be sure overlap each of the images by 1/4 or 1/3.
Setting the Nodal Point
The nodal point of a lens can be thought as the pupil of your eye. The pupil is the approximate location of the nodal point. For panoramic and spherical photography this is the point about which the camera must be rotated and tilted to create an image without parallax. OK… that's a lot to swallow at one time.
Youtube has many tutorials that will help you understand and solve the parallax issue. The following video is one of the best instructional videos that I have found on the Internet.
Here's a link to that youtube video.
Note that the camera in the video is mounted on a "panoramic head" that allows the nodal point to be properly set.
Exposure
It is best to set your camera to manual mode. Turn off autofocus, set the aperture manually and set the exposure time manually. Expose for the highlights so they are not blown out. Using manual settings keeps all of the exposures the same through all of the shots
Combining the Images
A panorama might be 2 or 3 images shot from left to right.
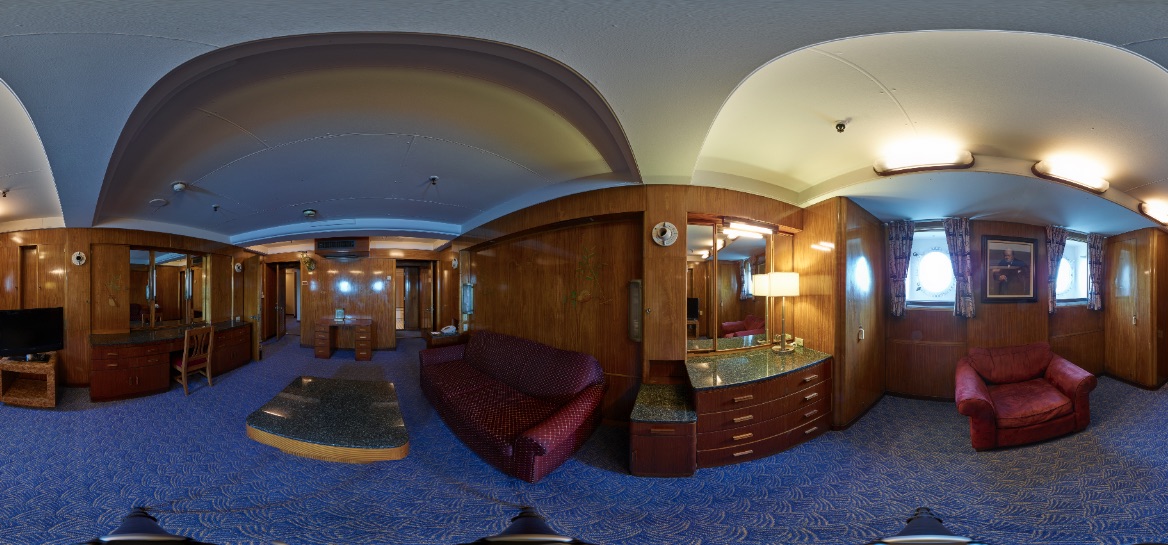
A spherical image is similar to a panorama except it includes data 360 degrees around, 90 degrees up and 90 degrees down. This allows the viewer to be "inside" the image in a virtual reality (VR).
A spherical images is created using a spherical panoramic tripod head. This type of tripod head allows the camera body and lens to rotate inside the central point of a sphere. The resulting flattened image will be an image that has a 2:1 aspect ratio, but looking at the flat version of the image looks distorted (see below). However, when viewed from inside the sphere you will be positioned inside a virtual reality (VR) image that completely surrounding you.
Click on the image below
Software - Stitching the Images Together
Photoshop is commonly used to stitch images into a panorama.
More professional stitching software can be used. I use PTGUI Pro. This software can deal with simple or complex panoramas. It has many more features than how Photoshop approaches the situation. PTGUI currently is a one-time purchase costing between $150 and $250. There is a free trail version that you can download.
About every three years PTGUI issues a new major release and at a reasonable upgrade price.
Do some research on panoramic image stitching. You will find something that fits your needs and budget.
I have found that in the long run it's less expensive to "Buy nice… not twice."
How to Create a Spherical Image
To create a spherical image you will need a spherical tripod head. This type of head allows the camera to pivot around and also do this while looking up and down.
A true spherical image includes 360 degrees horizontally and 90 degrees up and 90 degrees down. Inshort you will need to photograph everything around, above and below you.
It is also possible to create partial spherical images.